Artist's Toolbox Week
Using resin in your artwork
Hey guys! I’ve been wanting to write a tutorial on resin casting/pouring for a bit now (and I promise one is in the works!), but in the meanwhile, I think it would be good to explain what epoxy resin is, safety concerns, and of course, how AWESOME it is!
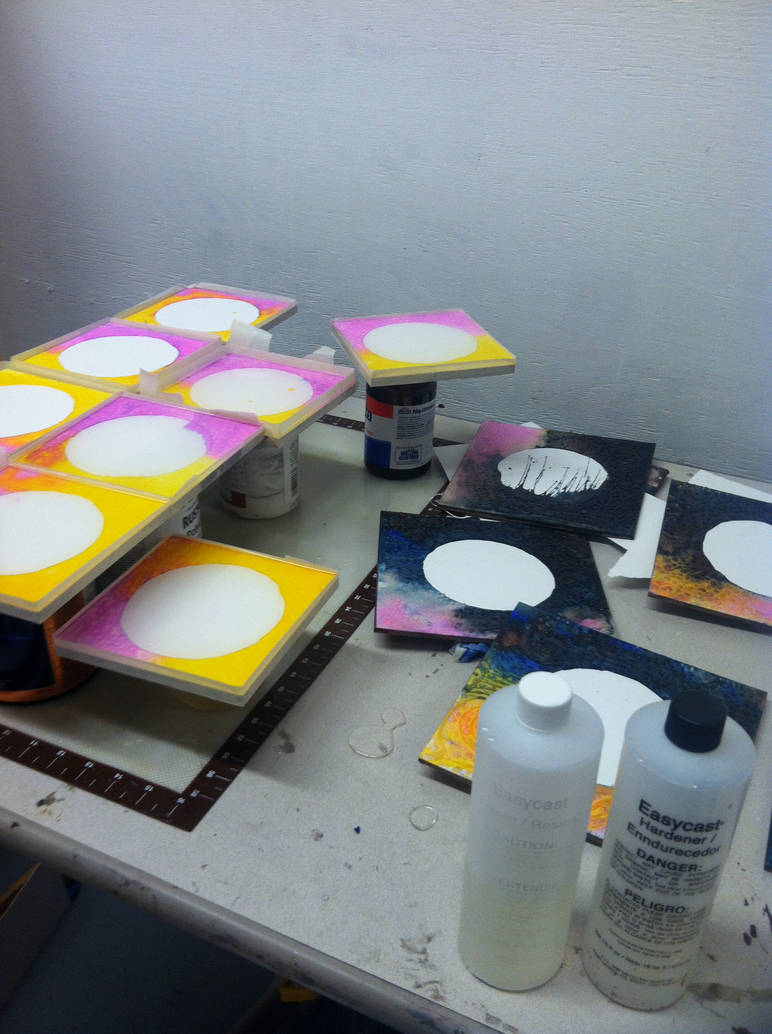
I started using epoxy resin in my paintings almost two years ago after being introduced to the resin paintings of Bruce Riley during ArtPrize 2013. I was initially drawn to finding a way to achieve visual depth on a 2 dimensional surface. Now, of course it is more than possible to depict spatial depth by using perspective, but my paintings aren’t trying to depict a realistic sense of perspective. Rather, I wanted to find a way to layer color and patterns in a shallow space and doing so without overwhelming the image. The only way to achieve that would to be somehow work in multiple layers, and thus resin was the answer! Most recently, I’ve started casting bracelets with my left over resin and I plan on casting even more stuffs as time goes on!
What is this stuff?
So, what is this epoxy resin that I speak of? Epoxy resins are a pre-polymer, which is science for “mixed with the right stuff, this thing’s molecules will link up and get larger and denser.” And that means harder. Most commercial resins are a two-part mix, one part being the resin; the other part is the hardener. The resin requires the hardener in order to harden up. It can be used to protect surfaces, as a glue, or even to cast objects in molds.

Is it toxic?
Is it dangerous? Yes and no. While resin isn’t toxic, you can’t bathe in it, eat it, or huff it
How do you use it?
I’m pretty good at eyeballing my measurements of the two-part mix, but if you’re just starting off it would be in your best interest to use mini measuring cups. If you don’t measure both parts equally your resin will never fully harden, rather it will stay tacky and unusable. You’ll also need a well-ventilated work area and a level surface. Resin cures in warm environments best, so working in a drafty studio or your garage on a cold day isn’t optimal. I use a silicone mat to protect my table from any drips that might happen, but old paper can do the trick as well. Protect your workstation because resin is permanent. Ok, well that’s not entirely true…it can be melted with other chemicals, but trust me, you don’t want to have to do that. Lastly, if you have a heat gun or blow dryer, bring it along! Both can help you get air bubbles out after you pour it onto whatever surface or mold you’re working with.

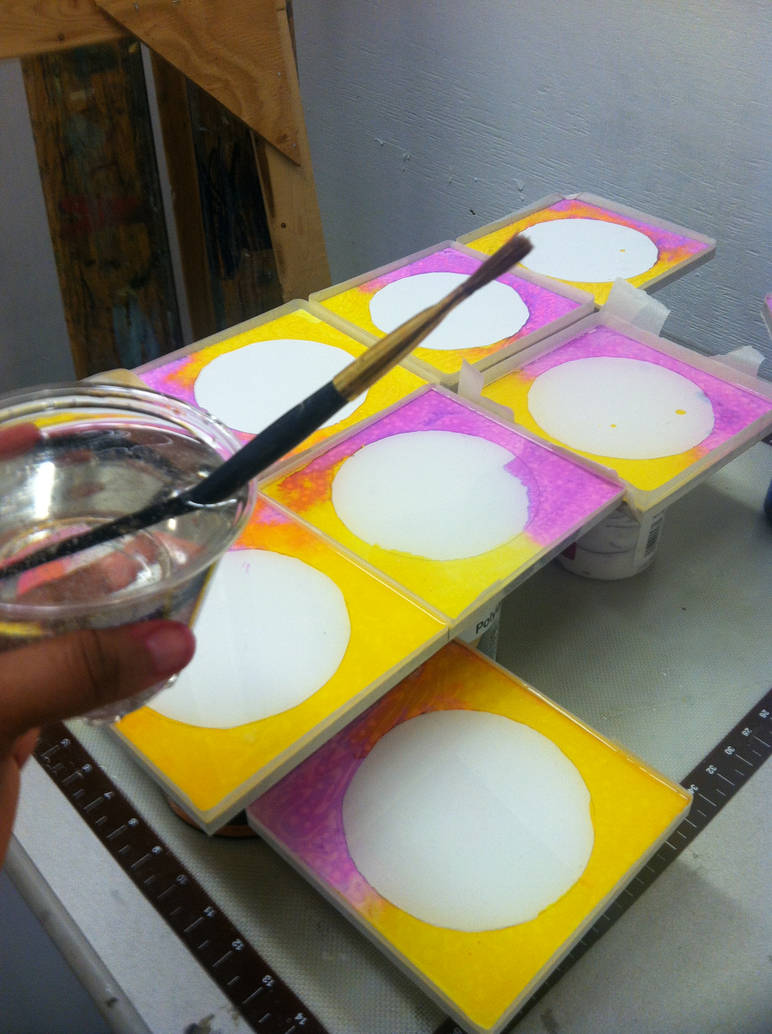
After you combine the two equal parts of resin, mix them until the liquid is smooth looking. Try to do so smoothly so you don’t get a ton of bubbles. Large ones will pop on their own but the teeny ones will try to stick around and you probably don’t want them. Pay attention to the time. Typically, you’ve got a 30 minute working time before the resin begins to stiffen up, but if your workspace is toasty that time frame will shrink faster. Try to spend no more than 10 minutes mixing. Before you pour your resin, make certain that your surface is oil free, hair free, and level. Since I pour my resin on a surface with no raised edges, I use masking tape to give it a border to run up to. I didn’t do this in the past and I had resin dripping and running everywhere! After I’ve poured my resin, I like to spread it evenly with a painting knife or wooden stirring stick to ensure equal coverage.
What is Cure time?
The cure time for your resin greatly depends on the brand you buy. I’ve found with the kinds I buy 36 hours is the general cure time. If you’re planning on making jewelry (like the bracelets I’ve been making) you’ll really need to pay attention to the cure time because you will be pouring the resin in layers. If you do three layers, you probably shouldn’t even think about popping your piece out of its mold for 3 or 4 days after the final pour.
Where do you get resin?
Where I get almost everything, Amazon!
Practice makes perfect!
I played around with resins for about 5 months before I actually began using them in my paintings and had maaaaaany errors in that time. Like any art process, it’s important to remember that failure is part of learning and mastering the skill. With time, you’ll have success and a beautiful finished artwork